Let me guess, you decided to cut costs dramatically by fitting your own flooring by yourself? We are here to help with our beginners tips and tricks to help make your DIY attempt less complicated and most of all more effective!
First you will want to start by setting up and being fully prepared for the task ahead, We advise that you have these tools at your disposal.
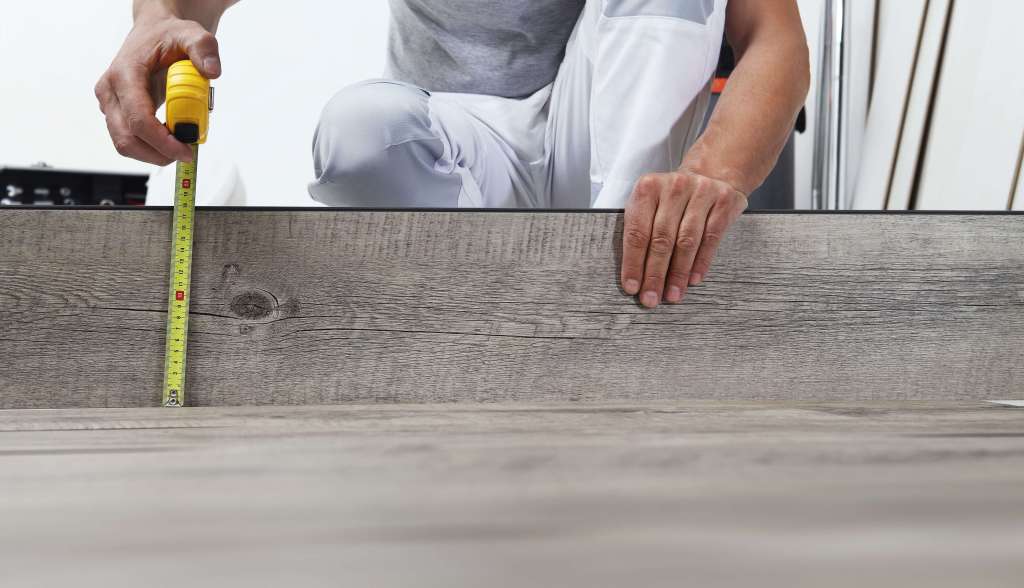
- Tape Measure – A Tape Measure is a pivotal tool in your arsenal as you need to get the precise measurements for the floor to look its best.
- Hammer – To pat down the flooring or to wedge out existing flooring you will need a hammer.
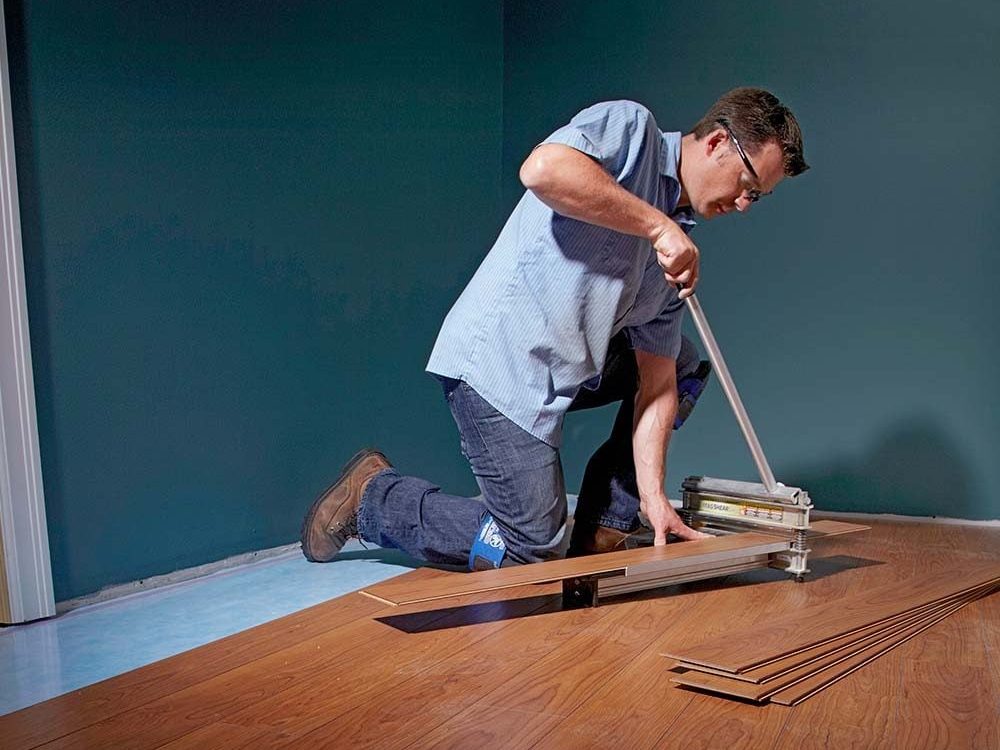
- Saw – To cut the new flooring to your desired length and shape you will need a trusty saw to do the job and make a precise cut.
- Gloves – The main thing to look out for while using power tools and tools alike is safety, we recommend Eyewear and Gloves to protect eyes and hands from any sort of damage caused.
- Caulk – To set the flooring down you will need a good caulk and Bond to prevent gaps on end of corners which could lead to a poor draught in the house and unevenness.
- Damp Proof Membrane – To prevent moisture and will also help with acoustic and thermal insulation.
- Foam Underlay – This is placed above the Membrane to avoid uneven flooring disrupted by dirt.
Now that we have the basic tools acquired, We are ready to crack on and start creating your dream room with your dream flooring!
Step One
- Remove your existing flooring and ensure that you have cleant your floor as a dirty floor can make your new flooring uneven

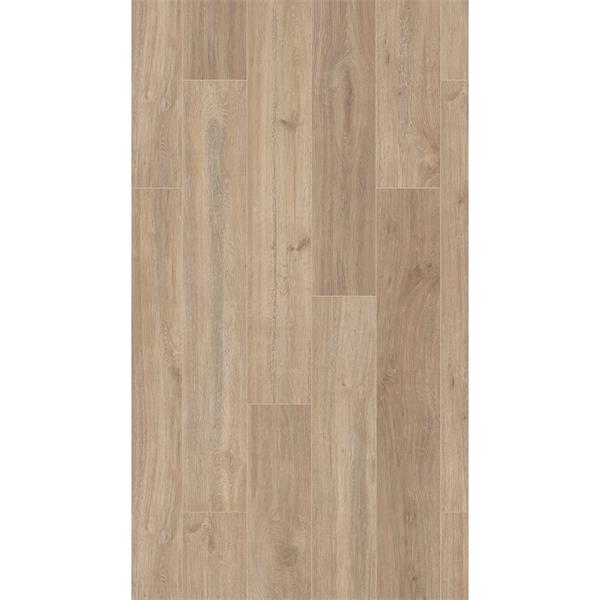
- Choose your Laminate Flooring! When you have picked your favourite and have it in your possession leave it in the room you want to fit it into for 48 hours to acclimatize to the room.

It’s important to note that flooring packs bought will have to climatize to its new surroundings so it can prepare for moisture and pressure when being laid.
Step Two
- Now that you have your tools and your flooring and it now has been acclimatized to your room you are ready to start laying down your new flooring!
- Start by laying down your foam underlay, Use your Measuring Tape and Box Knife for this step. Lay underlay facing the opposite way to your flooring.
- Lay the first board in the left-hand corner over the underlay, with the short tongue end against the wall. Insert expansion spacers against the end of the board and at intervals along the wall, including at the point where boards are joined.

- Lay the next board end-on, placing its short tongue into the long tongue of the first board at a 30° angle.
- Continue to the end of the row, where you’ll probably have to cut a board to fit. Make sure that the last plank is at least 300 mm long. If not, you may have to cut the first board.
- To measure the last board, turn it 180° and lay it next to the previous one, with an expansion spacer against the skirting or wall.
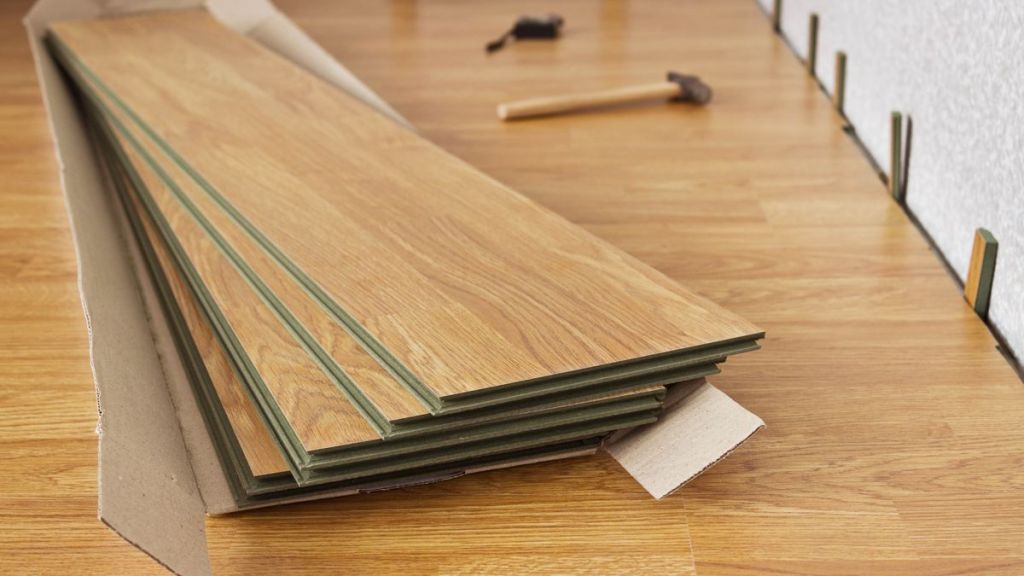
- If the offcut is more than 300 mm, it can be used to start the next row, otherwise you can cut a board in half.
- Use the offcut from the first row to start the next row with the cut end against the wall. Press forward and down to lock it in place. Repeat along the row, making sure that all joints from the previous row are a minimum of 200 mm apart.
- Alternatively, for smaller rooms using angle to angle laminate, clip a whole row of boards together. Then, with a helper, lift the row to an angle of roughly 30° and push down to lock the long edges together.
- Slide the long edge of the board into place and use a downward action and push the tongue of the second panel down into the first panel’s groove. Listen for the click to make sure the boards are connected.

Keeping offcuts in beneficial budget wise as it prevents you going out of your way to buy more Flooring, and eating into your budget and keeping this project cost effective.
Step Three
- It’s likely at some point you’ll have to cut a board to fit around radiator pipes. To do this, use a profile to copy the shape of the pipe which you can then trace onto a board. If you don’t have a profile, lay the board in position next to the radiator pipe. Use a pencil to draw a line across the width of the board at the point where it hits the centre of the pipe.
- If the door opens into the room, check that it will open over the new flooring and threshold bar. If not, remove the door and either cut or plane a strip from the bottom of the door.
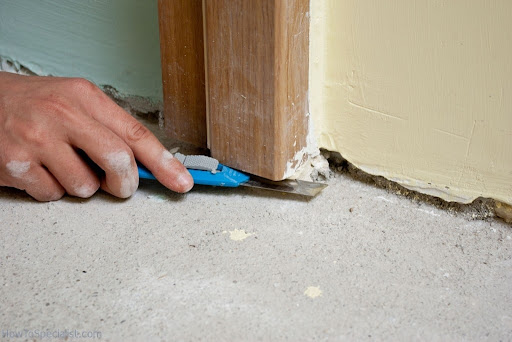
- If you need to cut the door frame, lay an upside-down board on a piece of underlay beside the door frame. Then place a panel saw flat on the board and cut through the bottom of the architrave.
- Once the flooring is laid, the last finishing touch is to add a laminate flooring trim. Measure and mark with a pencil on the length of laminate flooring trim where the cut needs to be made. Use scotia cutters to cut the corners to a 45° angle. Alternatively, use a mitre saw or tenon saw and mitre block.
- Apply grab adhesive to the back of the flooring trim (not the base) so that it will stick to the skirting board rather than the floor. This allows the floor to expand and contract. Remove the expansion spacers and press the flooring trim in place and hold it firmly with a couple of heavy books while the adhesive dries. You can also gently hammer in panel pins to tack it into place as it dries.

It’s important to note the importance of measuring the flooring to the exact tee to prevent uneven flooring and prevent shaky and unbalanced flooring.
Conclusion
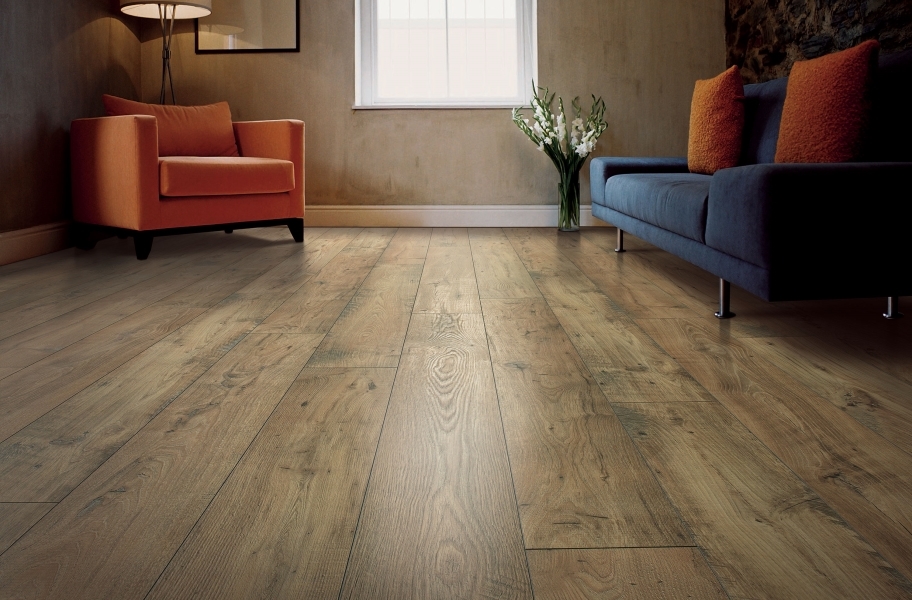
Congratulations! you have just successfully laid down your laminate flooring and you have given your floor a new lease of life!
If you are looking for any materials listed or want to know more visit https://www.eechardware.ie/ for more or drop into our store!
