Looking for an easy step by step tutorial on the best way to restore your fence whilst doing minimal damage to your wallet?
Well look no further because EEC Hardware is here to help you restore your fence on a budget!
Introduction
The best place to start with any DIY task is to go through a checklist of items you will need to make this task a smooth and easy one. We have compiled a list of essential items needed below.
- Fence Paint – One of the main ingredients needed is Fence Paint, These come in various sizes and shades so measure the length of fence you would like to paint and pick a colour you are happy with.
- Fence Primer – This will go under the fence paint and act as a glue that will hold the paint and prolong the look of the paint on your fence.
- Sand Paper – If you are planning on smoothing of some of the wiry bits of wood sticking out of your fence and trying to get rid of that sight for sore eyes sand paper is your best friend.
- Gloves – Of course one of the main parts of any DIY task is safety and how can you suit yourself or others up to be comfortable and safe, Gloves will prevent the likes of splinters from forming as working with a wooden fence you are at high risk of splintering.
- Dust Sheets – To avoid getting an oily paint on your stones or grass a dust sheet or Tarpaulin is a simple yet effective tool to help prevent a messy verge of grass.
- Paint Brush – You need a way to transport that Fence Paint from can to fence, We recommend a 6″-8″ Paint Brush.
Step One
- Start by laying out your tarpaulin within range of where you are going to paint, This will prevent a messy cleanup after (you can thank yourself after).

Tarpaulin may be hard to source and expensive which is where Dust Sheets come into play, these are cheap and disposable.
Step Two
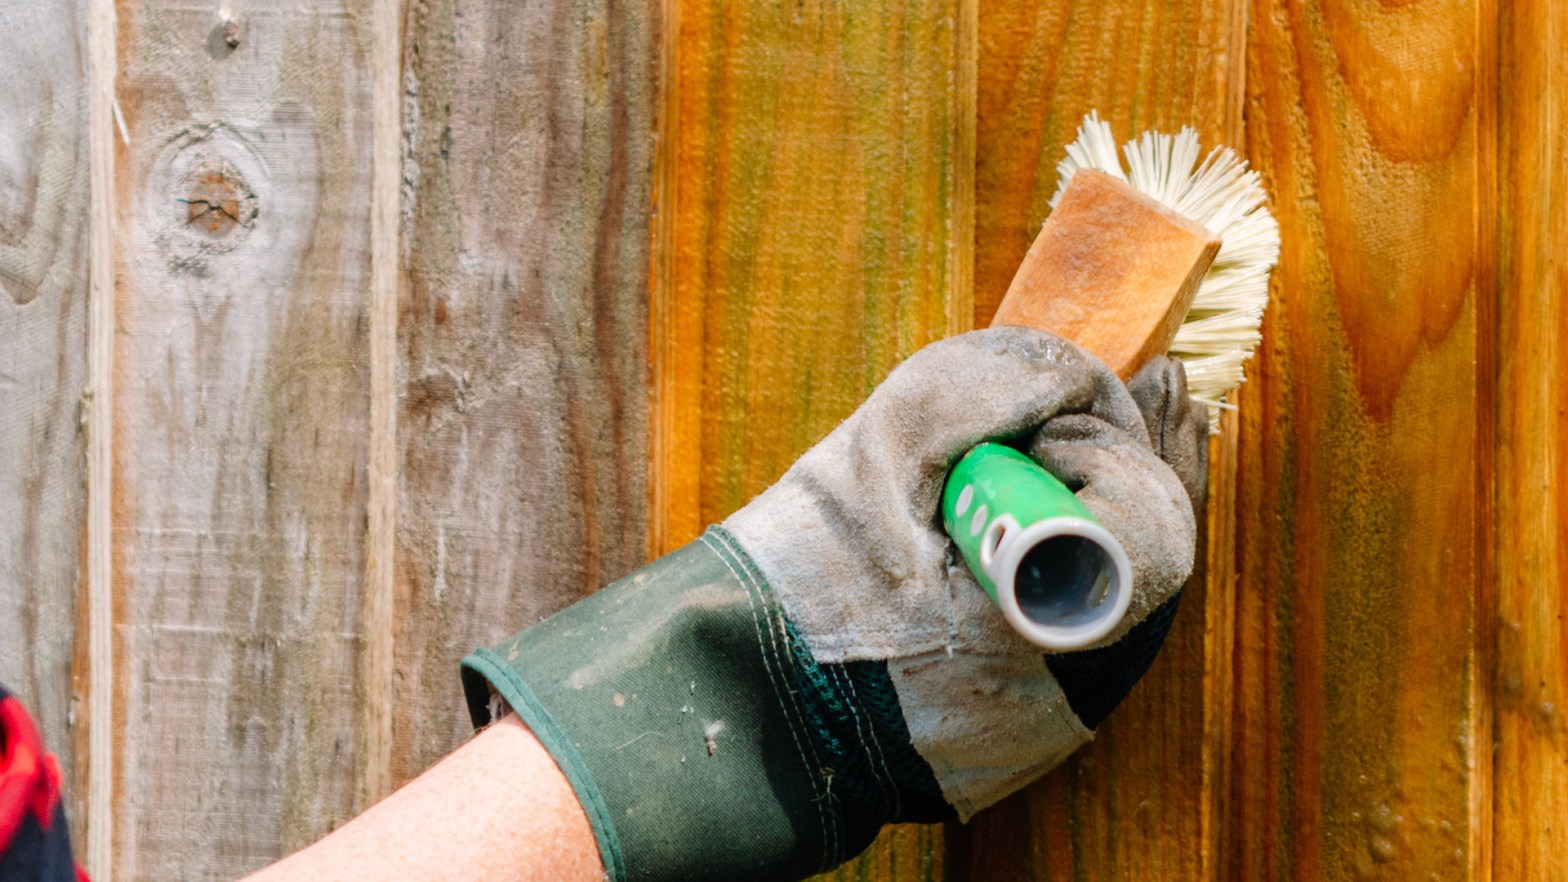
- Sand down your fence with sandpaper and smooth out any rough bits and bobs sticking out of the fence to give it that new lease of life, Be aware of any splinters that may occur from doing so.

To make your life that tad bit easier you can use a Mouse Sander for this step and avoid splinters all together, this can also be used for further D.I.Y projects you could have in the future.
Step Three
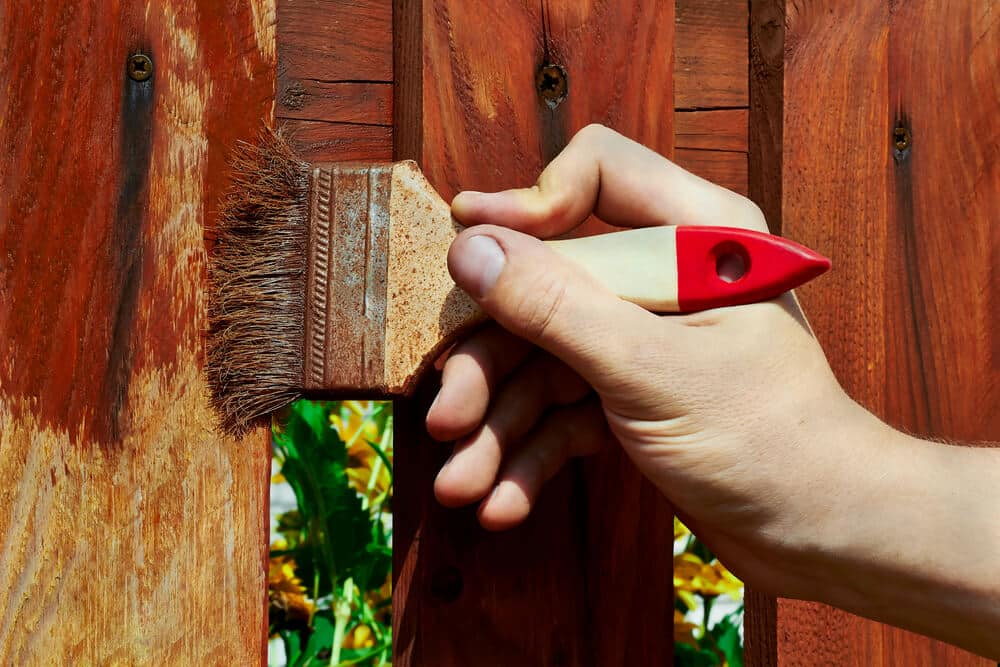
- Now that you are prepared and ready to get messy start by opening up that primer and laying that first coat of primer, this will help the the Fence Paint last longer and give it an attractive finish.
- When you have painted the first coat of primer allow up to one hour of time before applying a second coat of primer.
The main takeaway from this step is that is very important that you pick the best Primer suited to you.
The main difference between using primer as opposed to not using it is durability and appeal, without primer your fence paint will constantly need to be reapplied to avoid cracking and end up costing you more in the long run
Step Four
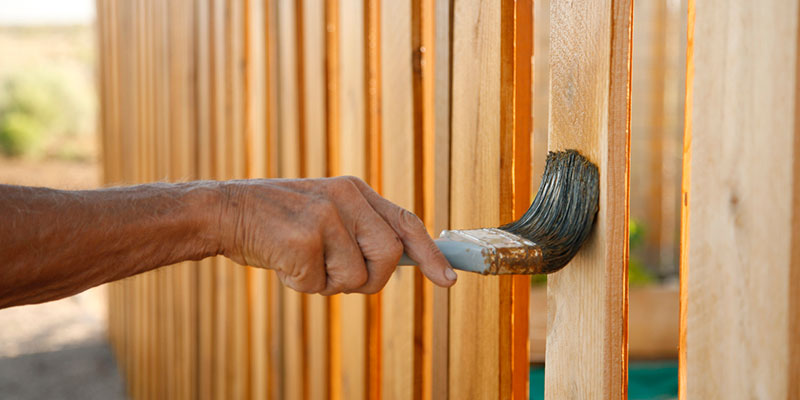
- With your fence primed up and ready to be painted you are now ready to add your first coat of Fence Paint to your fence, Do this whilst keeping your brush stroke the same as doing it irregularly can cause unevenness to the look of the paint.
- Similar to the primer once you have painted the first coat of paint allow up to an hour of time before applying your second coat, Bear in mind that weather can play an important factor on how quickly your coat of paint can try so use your intuition (or a cloth) to gauge if the first coat has dried or not.
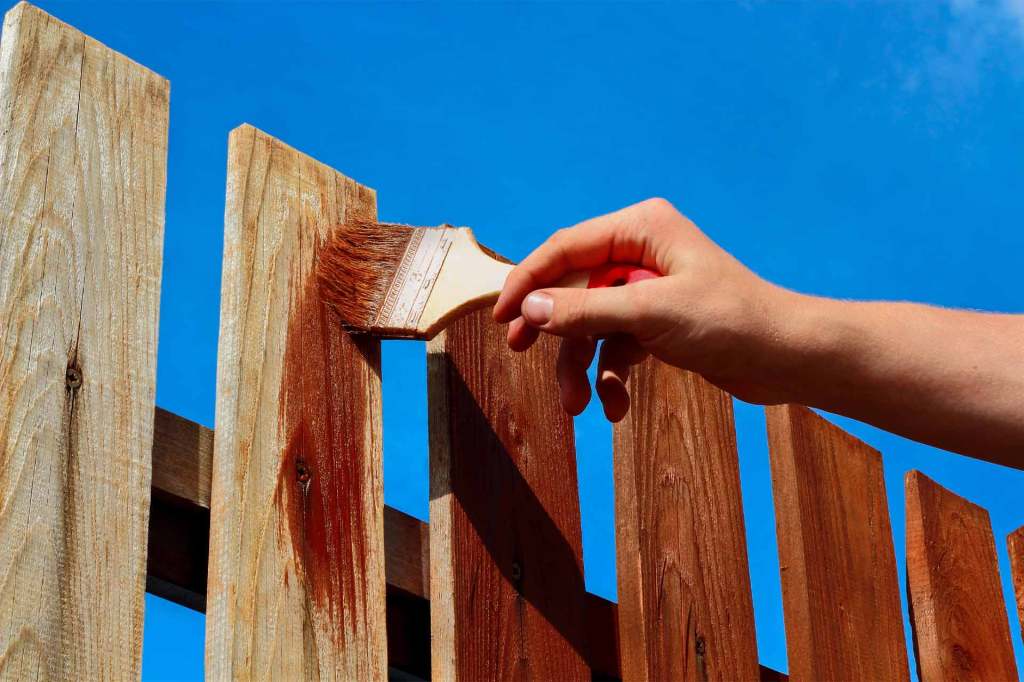
- Now that first lick of paint has dried we are now ready to move onto the second coat of paint, similar to the first coat give the second coat an hour of breathing space to dry and climatise to the primer
- Depending of the shade of wood you are using you may need a third coat of paint, The darker the fence wood is the higher chance of a third coat being needed.

Most brands of Fence Paint will detail on the tub the length of time and durability of the paint and whether or not its weather resistant.
Conclusion
Now your fence has had a new lease of life you can invite friends and family around and not be embarrassed to let them into the garden.
Need a visual aid to help restore your fence? Click this link to our youtube where we have a video detailing the entire process
All products referenced in this article are available both on our site at https://www.eechardware.ie/ or in our Store.
Thank you very much for using our article to help you, We have plenty more DIY tutorials on our site to help with any job.
