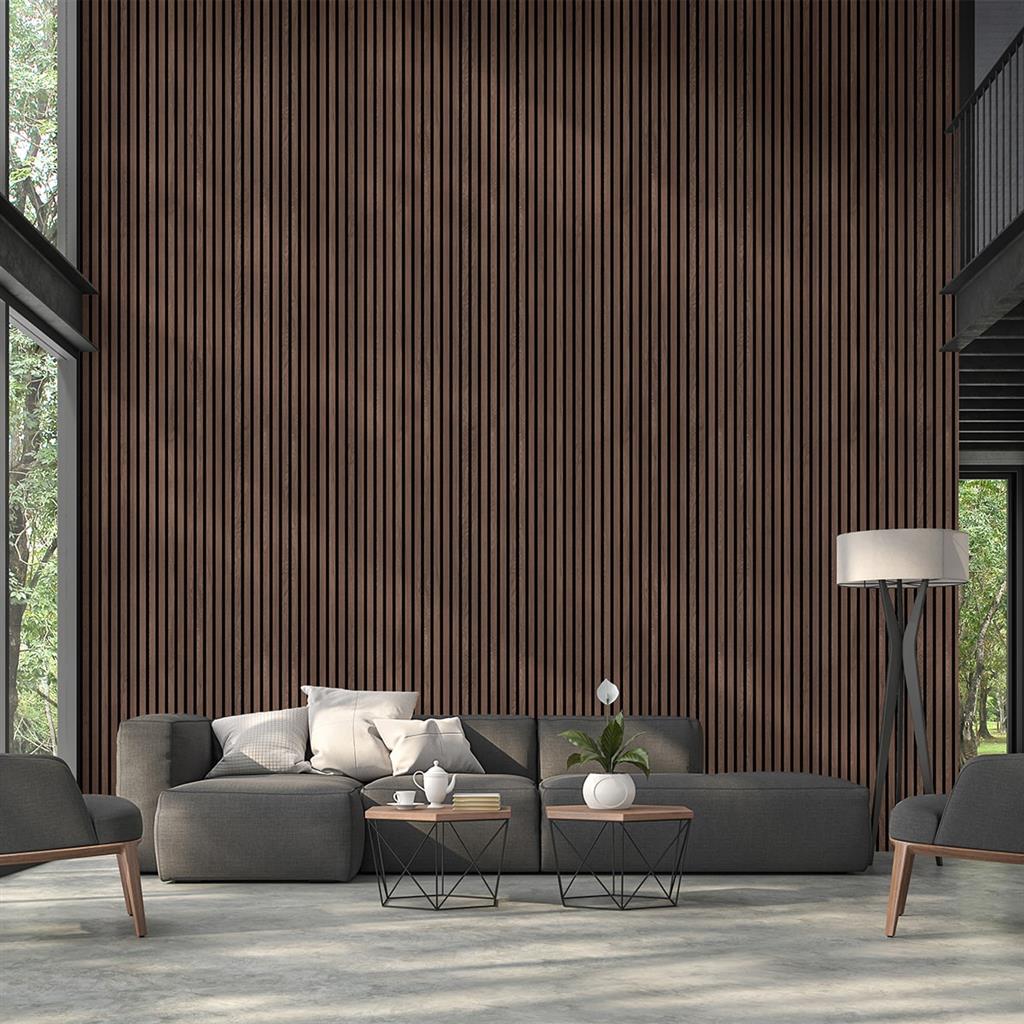
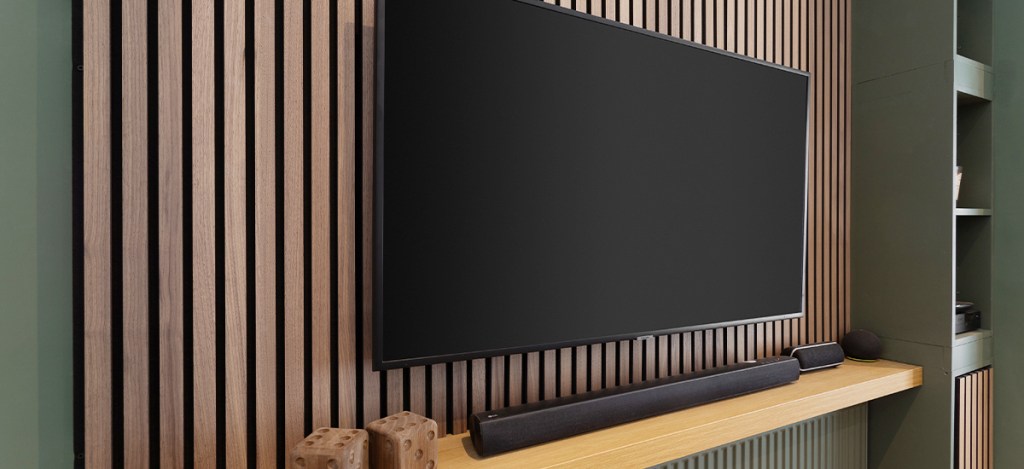
One of this year’s most popular household decorative additions to homes is Acoustic Paneling, It creates a stylish look and enhances visual appeal to any room at an affordable price, this paired with the simplistic nature of installing it’s no surprise that modern homes today are opting for these stylish panels.
Are you on the fence about purchasing one yourself? (why else would you be here sure) or have you bought acoustic panelling and want to save money by installing it yourself? (or to impress the kids, there’s no shame) EEC Hardware have an easy step by step process to ensure your acoustic panel is installed correctly!!
Checklist
Like most DIY ventures, you want to make sure you have all the required tools at your disposal to make the install a smooth process, Listed below is all you need.

Tape Measure – Used to measure specific measurements
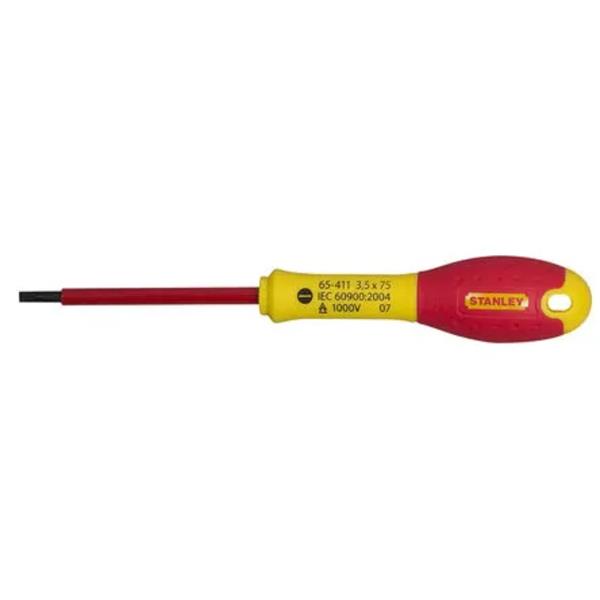
Screwdriver – Used to screw in panel screws
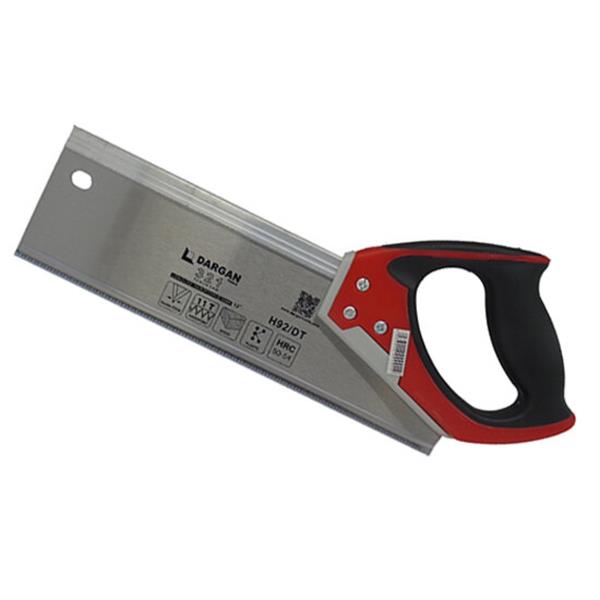
Hand Saw – Used to cut panels to optimal shape for fitting
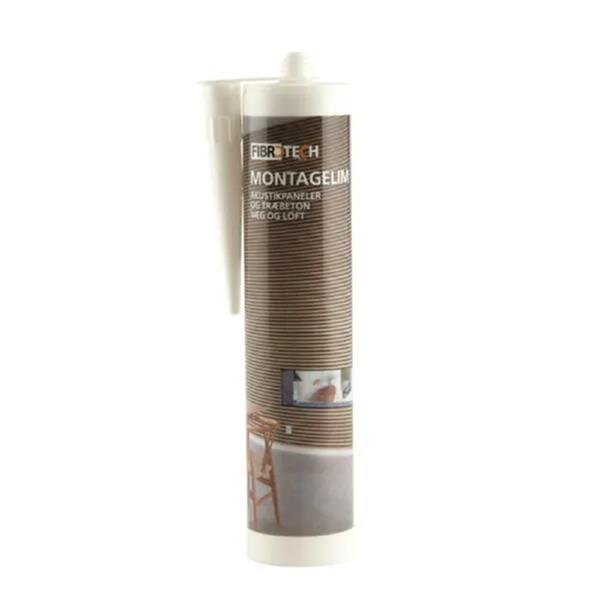
Panel Glue – Used to stick panels to the wall with ease
Ready To Go!!!
Now that you have all the tools needed to make the installation smooth, we are ready to go!!!

Step One
To start, we recommend measuring the vertical distance of the wall, mark the location of cut on the panel, apply a strip of masking tape along the area that you are going to cut, using your carpenter pencil strike a line across.
Cut the panel to the correct height using your saw, for the best results use a good quality sharp blade, make sure to remove the masking tape after cutting.
Step Two
If slats on panel are loose after cutting, secure slats by inserting 15mm long screws through back of panel, through the felt and into the slats ensuring that screw heads are flush with back face of felt backing. Check the panel fit on the wall. Next, apply a panel adhesive to the back of the panel. One standard bottle should be enough to install 3 panels.
Working from left to right, carefully offer the panel up to the wall, ensuring that the panel side where the slat projects past the backing is to the left hand side, and the open side where the slat is set back is to right hand side, ready to accept next panel. Lead with the bottom edge, then locate fully up into position. Press panel at top, middle and bottom locations to ensure adhesive is pressed up against the wall.
Repeat this process with the remaining full width panels, when you come to the end of the wall, it may be necessary to cut the last panel to the correct, repeat this process for the rest of the space you want to fill!

Conclusion
Now you have your amazing Acoustic Panel set up and looking gorgeous you can sit back and revel in your hard work.
All the products listed in this blog are available on our website and are also available in our store!
Thank you so much for reading and if you need to know anything else DIY or Hardware related our blog is full of tips and tricks to save you a penny!

wow!! 100An Easy Guide On How To Install Acoustic Panelling To A Flat Wall
LikeLike