The How to Guide – How To Add Life To Your Garden

It’s the peak of summer as you are looking out on your dull and lifeless garden, or maybe it’s winter and you are just thinking ahead on ways to liven things up, maybe you are expecting some last minute guests and are planning to have a shindig out in the garden.

Never fear, EEC Hardware is here to here to help you and give your mind some fresh new ideas to bring that spark back to your garden!

Let’s stop mucking around and dig right into a list of ways of how you can make your garden look less like a wasp nest and more like the garden of Eden!
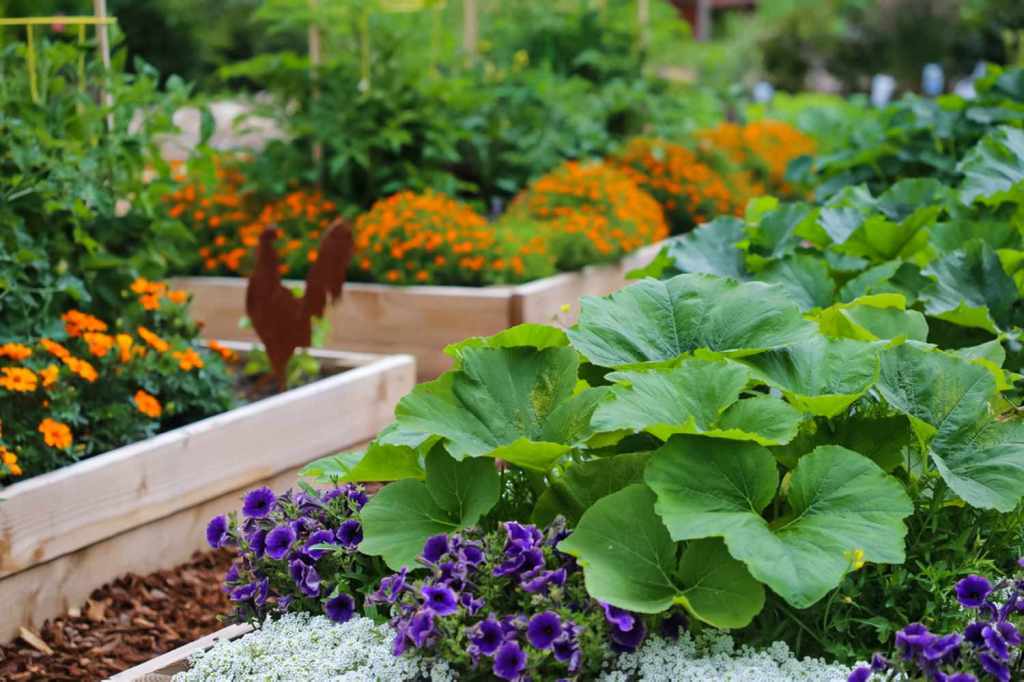
Plants and Greenery

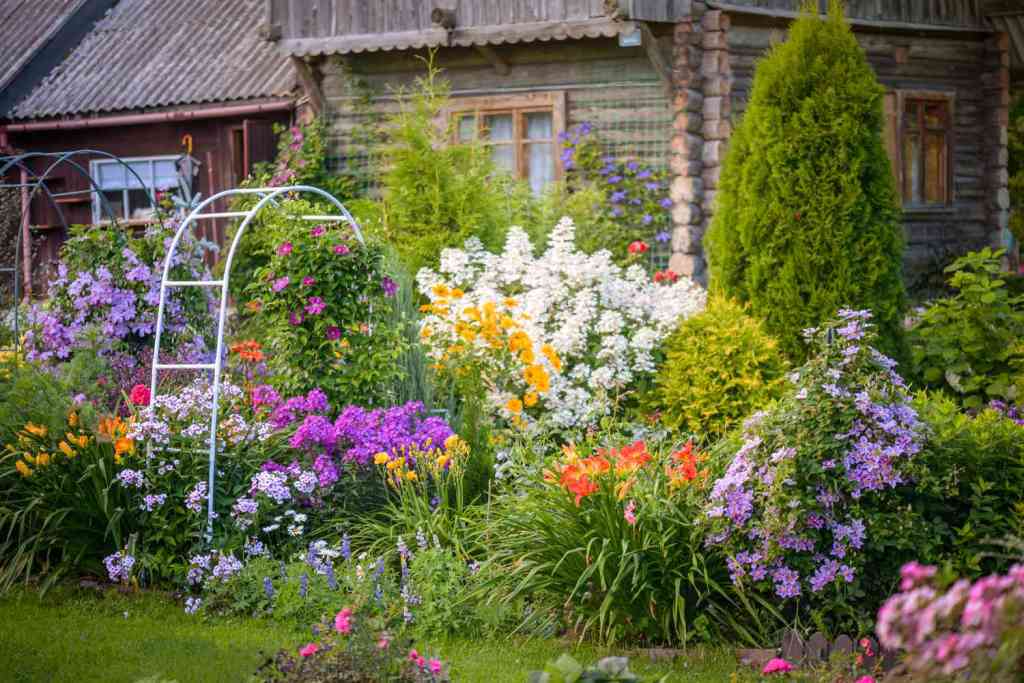
  • Flower beds – Flower beds are a great way to add colour to a dull garden, another benefit of these is to add a source of pollen to your garden to attract butterflies and bees to add more life and colour to your garden.
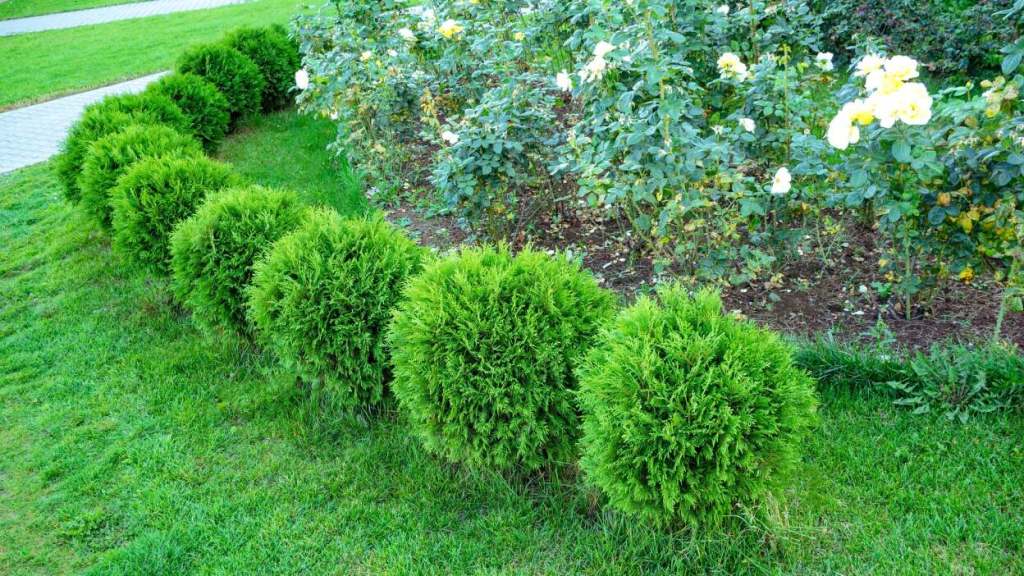
  • Shrubs and BushesShrubs and bushes would add a sense of structure and greenery to your garden, You can add an array of any shrub and bush you like.
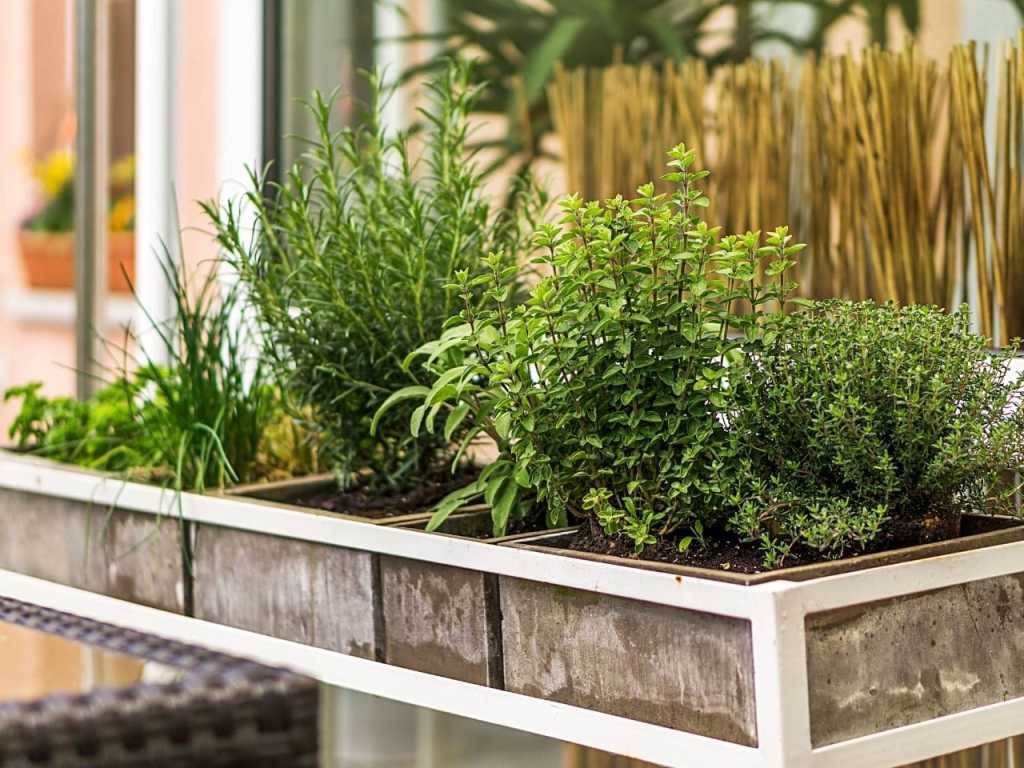
  • Herb Garden – You can grow herbs for an aromatic and attractive look to your garden and not to mention you can harvest these herbs and use them in your cooking.
  • Vegetable Garden – You can grow an array of vegetales to your garden to add colour and a nice addition to your family dinners.
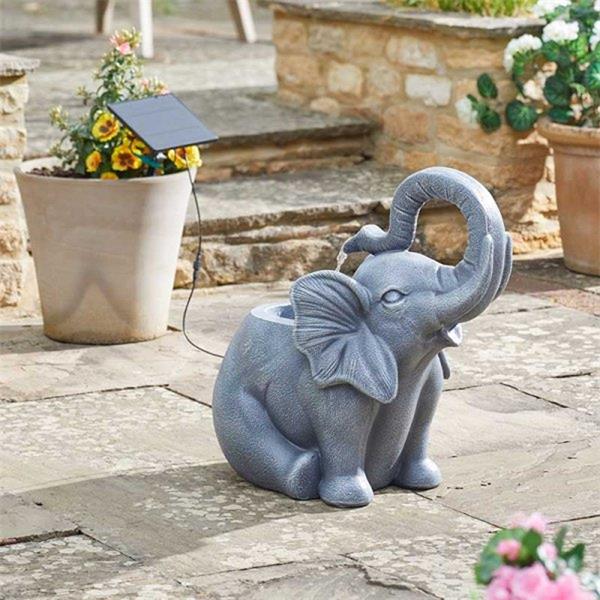
Water Features

  • Water Features – Are a great way to add some life and some structure to a messy garden, You can add a Water Fountain to add some eye candy to your garden while relaxing and listening to the beautiful noise and reaching your zen state.
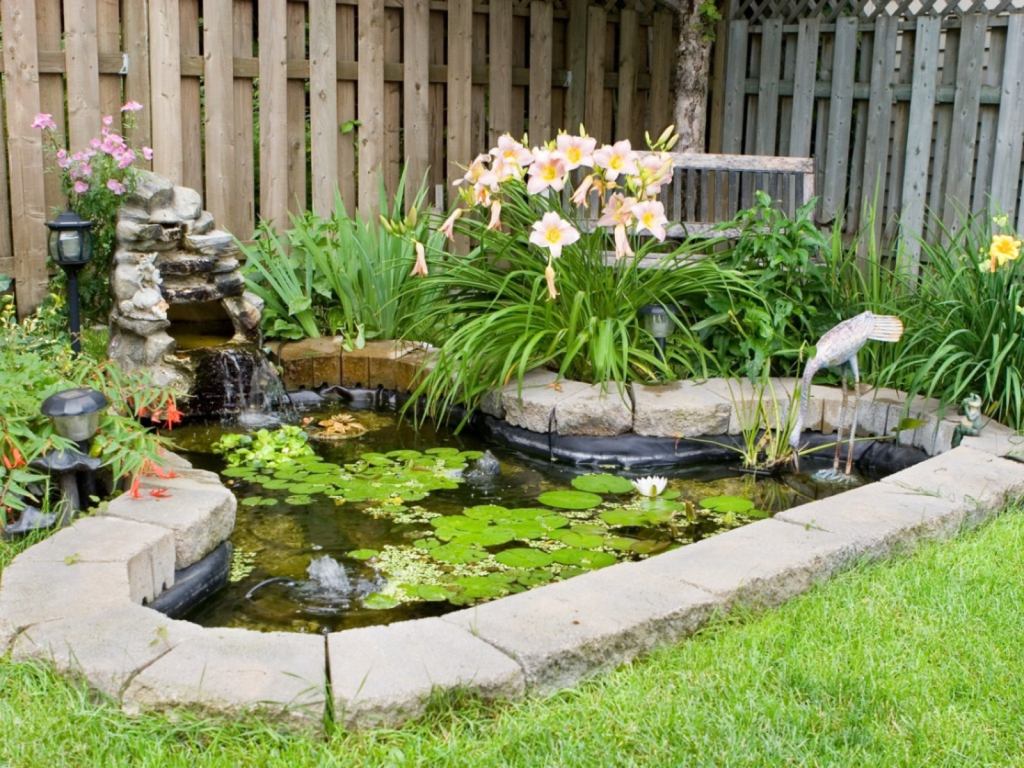
  • Water Pond – A water pond that can host fish and water plants would be a great addition to your garden whilst adding a ecosystem to be proud of.

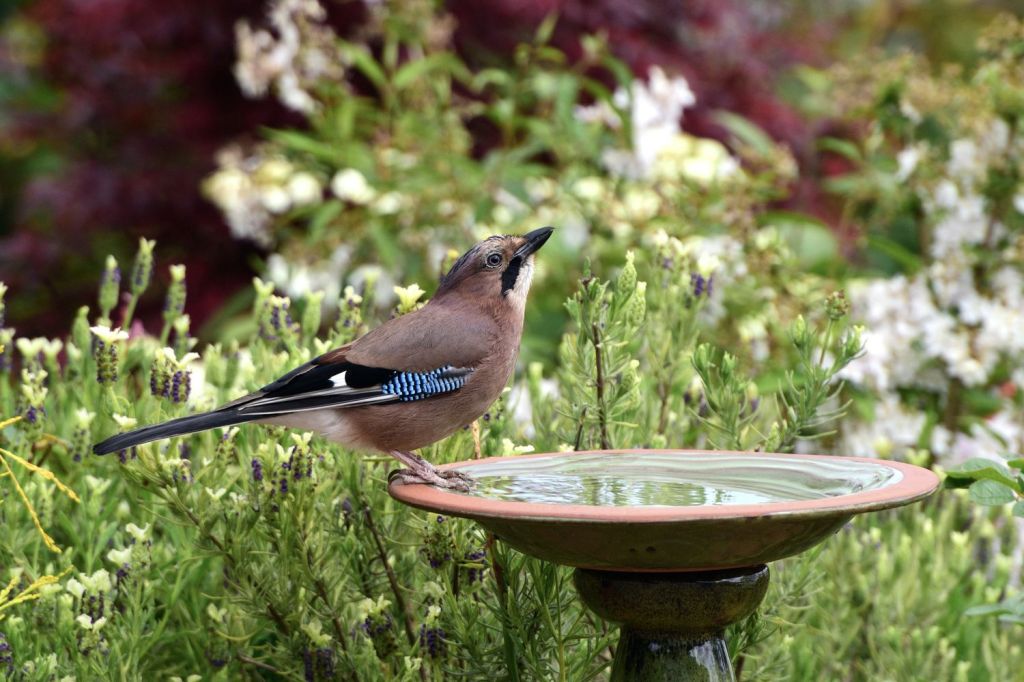
Bird bath – And lastly in the water features is a bird bath, you can add a bird bath to attract birds to add a lovely mix of colour and beautiful chirps to listen to whilst in the garden.

Garden Lighting

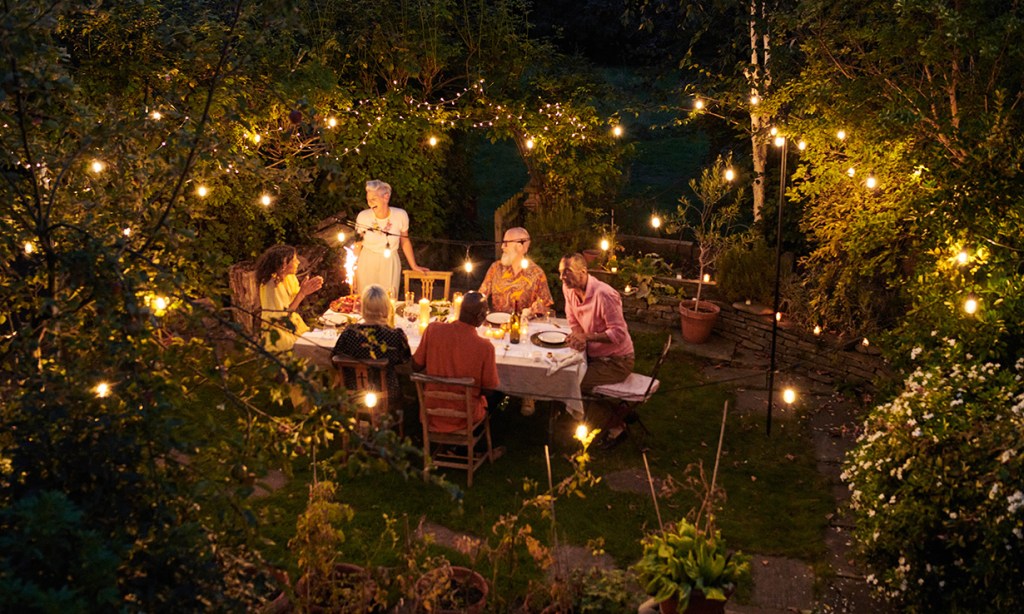
So we have discussed how to liven up your garden with some plants and shrubs, but what happens when the sun goes down and you can’t bask in your hard work when you have friends and family over for a cheeky drink?

This is where our next section comes into play, Garden Lighting is a great way to build on your strong start to the garden, there is so many combinations and ways you can integrate lighting into your garden, you can also go down the eco route by investing in our solar options.

  • Fairy Lights – String lights like fairy lights will add a magical ambience to your garden during the day and at night.
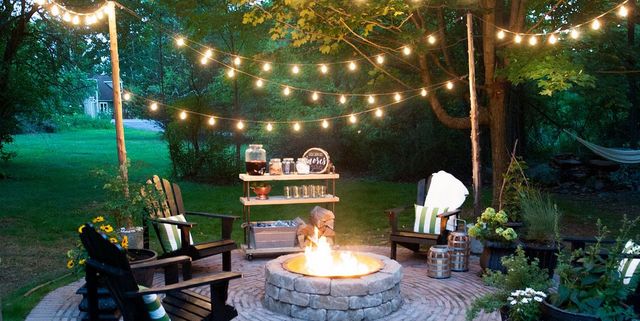
  • Solar Lights – PLace Solar lighting anywhere in your garden to add subtle lighting whilst putting the environment first, this also makes your garden less clustered as you be tripping over wires.

Conclusion

This has been a list of ways you can potentially add life to your garden, if you are interested in buying and products mentioned in this list visit our website EEC HARDWARE

Introducing… – Installing your new Composite Decking with EEC

This step by step tutorial will guide you on how to setup and install your new Composite Decking to make your neighbors jealous!

Composite decking is a simple yet affordable addition to spruce up any garden.

Checklist

So like most things in life you will want to make sure you have every tool at your disposal to make life easier for yourself, Below is a checklist of everything needed to make this project as smooth as possible

Measuring Tape – Simplest way to gather the correct exact measurements without fail.

Spirit Level – Used to measure levelness within flooring to ensure straight paneling and decking

Carpenters Pencil – Used to mark specific details within your decking for the most precise cut.

Saw – A saw is used to make precise cuts to your decking if needed.

Hammer – A hammer is used to either hammer a pin in place or to hammer your decking into place.

Shovel – Used to make any leveling adjustments to your base ground typically being soil.

Drill – Best way to drill home your screws is to by well a drill!

Now that you have your tools locked and loaded you are ready to start installing your decking, First thing to note is Safety Precautions.

Safety First!

Now that you have your tools locked and loaded you are ready to start installing your decking, First thing to note is Safety Precautions.

As with most building work, it is crucial to work safely and take every precaution necessary including wearing Protective Clothing

Safety Goggles – Prevent any off cuts from injuring your eyes.

Gloves – Prevents cracking of hands and splintering.

Face Mask – Whilst working with drills and saws, a face mask is essential to avoid breathing in fumes that could be harmful to ingest.

Step One – Framework Preparation

Now that you are kitted up and ready for action you can proceed with step one!

  • Measure and ensure that the ground is solid and level
  • Build any necessary support structure for the decking e.g Joists , one thing to consider is joist thickness for added security

Joists are available in our store

Step Two – Laying Boards

  • Start by positioning your starter clips provided at each end of your frame that you have built at regular intervals in between, you will be pushing your board into these clips so ensure that where they sit is right up against the edge of your frame and screw the starter clips into your frame.
  • Now, push the first decking board so that the starter clips fit into its side groove and ensure that the board us pushed tightly secured.
  • Where the first board meets each of your frame joists push the toothed side of the special clip into the side groove.
  • Screw each of these special clips into both the first board and the frame’s joists, through the pre-drilled holes. Make sure the screw holes are in line with the joist centres and that you use one fastener per board at butt joints, as well as at board ends and each joist.

Note that starter clips are provided with purchases of composite decking.

Step Three – Laying The Remaining Boards

  • To lay each additional board, simply its exposed side grooves against the special clips of the previous board, applying light force to ensure that it connects securely, then repeat – placing and screwing special clips into the other edge of the board, and then sliding the next board into position, and so on, until you’re left with just the final two boards of your decking to install.

Exposed side groove on a panel of Composite Decking.

Step Four – Installing The Final Two Boards

  • Knowing the width of the final two boards (including the gap between them), mark on the final joist where the edge of the last board will lie.
  • Now, as you did when laying the first board, use your markings to screw your hidden starter clips at each end of your frame, and at the top of the frame’s joists at regular intervals in between.
  • Push the final board up against these hidden starter clips, clicking it into place.
  • Further secure the final board to the frame by screwing special clips into each joist and into the side groove of the final board (on the side facing the rest of your previously laid decking)
  • Finally, slide your last special clips along through the gap on the other side of your final board, between the 2nd and 3rd last boards, and when you have positioned them in the centre of each joint, screw these into place.

Conclusion

You have successfully laid down your composite decking and know your garden looks divine (give yourself a big pat on the back)

There is no need to seal or paint composite decking and it is designed to last up to 25 years, with no need to carry out the expensive and laborious annual maintenance you would need with natural wood decking.

Thank you so much for using EEC Hardwares blog to guide you through this task, all products mentioned in this blog are available on our website .

The How to Guide – How To Bring Your Garden Fence Back To Life!

Looking for an easy step by step tutorial on the best way to restore your fence whilst doing minimal damage to your wallet?

Well look no further because EEC Hardware is here to help you restore your fence on a budget!

Introduction

The best place to start with any DIY task is to go through a checklist of items you will need to make this task a smooth and easy one. We have compiled a list of essential items needed below.

  • Fence Paint – One of the main ingredients needed is Fence Paint, These come in various sizes and shades so measure the length of fence you would like to paint and pick a colour you are happy with.
  • Fence Primer – This will go under the fence paint and act as a glue that will hold the paint and prolong the look of the paint on your fence.
  • Sand Paper – If you are planning on smoothing of some of the wiry bits of wood sticking out of your fence and trying to get rid of that sight for sore eyes sand paper is your best friend.
  • Gloves – Of course one of the main parts of any DIY task is safety and how can you suit yourself or others up to be comfortable and safe, Gloves will prevent the likes of splinters from forming as working with a wooden fence you are at high risk of splintering.
  • Dust Sheets – To avoid getting an oily paint on your stones or grass a dust sheet or Tarpaulin is a simple yet effective tool to help prevent a messy verge of grass.
  • Paint Brush – You need a way to transport that Fence Paint from can to fence, We recommend a 6″-8″ Paint Brush.

Step One

  • Start by laying out your tarpaulin within range of where you are going to paint, This will prevent a messy cleanup after (you can thank yourself after).

Tarpaulin may be hard to source and expensive which is where Dust Sheets come into play, these are cheap and disposable.

Step Two

  • Sand down your fence with sandpaper and smooth out any rough bits and bobs sticking out of the fence to give it that new lease of life, Be aware of any splinters that may occur from doing so.

To make your life that tad bit easier you can use a Mouse Sander for this step and avoid splinters all together, this can also be used for further D.I.Y projects you could have in the future.

Step Three

  • Now that you are prepared and ready to get messy start by opening up that primer and laying that first coat of primer, this will help the the Fence Paint last longer and give it an attractive finish.
  • When you have painted the first coat of primer allow up to one hour of time before applying a second coat of primer.

The main takeaway from this step is that is very important that you pick the best Primer suited to you.

The main difference between using primer as opposed to not using it is durability and appeal, without primer your fence paint will constantly need to be reapplied to avoid cracking and end up costing you more in the long run

Step Four

  • With your fence primed up and ready to be painted you are now ready to add your first coat of Fence Paint to your fence, Do this whilst keeping your brush stroke the same as doing it irregularly can cause unevenness to the look of the paint.
  • Similar to the primer once you have painted the first coat of paint allow up to an hour of time before applying your second coat, Bear in mind that weather can play an important factor on how quickly your coat of paint can try so use your intuition (or a cloth) to gauge if the first coat has dried or not.
  • Now that first lick of paint has dried we are now ready to move onto the second coat of paint, similar to the first coat give the second coat an hour of breathing space to dry and climatise to the primer
  • Depending of the shade of wood you are using you may need a third coat of paint, The darker the fence wood is the higher chance of a third coat being needed.

Most brands of Fence Paint will detail on the tub the length of time and durability of the paint and whether or not its weather resistant.

Conclusion

Now your fence has had a new lease of life you can invite friends and family around and not be embarrassed to let them into the garden.

Need a visual aid to help restore your fence? Click this link to our youtube where we have a video detailing the entire process

All products referenced in this article are available both on our site at https://www.eechardware.ie/ or in our Store.

Thank you very much for using our article to help you, We have plenty more DIY tutorials on our site to help with any job.

The How to Guide – How to Lay Laminate Flooring with Basic Tools

Let me guess, you decided to cut costs dramatically by fitting your own flooring by yourself? We are here to help with our beginners tips and tricks to help make your DIY attempt less complicated and most of all more effective!

First you will want to start by setting up and being fully prepared for the task ahead, We advise that you have these tools at your disposal.

  • Tape MeasureA Tape Measure is a pivotal tool in your arsenal as you need to get the precise measurements for the floor to look its best.
  • HammerTo pat down the flooring or to wedge out existing flooring you will need a hammer.
  • Saw To cut the new flooring to your desired length and shape you will need a trusty saw to do the job and make a precise cut.
  • GlovesThe main thing to look out for while using power tools and tools alike is safety, we recommend Eyewear and Gloves to protect eyes and hands from any sort of damage caused.
  • Caulk To set the flooring down you will need a good caulk and Bond to prevent gaps on end of corners which could lead to a poor draught in the house and unevenness.
  • Damp Proof Membrane To prevent moisture and will also help with acoustic and thermal insulation.
  • Foam Underlay This is placed above the Membrane to avoid uneven flooring disrupted by dirt.

Now that we have the basic tools acquired, We are ready to crack on and start creating your dream room with your dream flooring!

Step One

  • Remove your existing flooring and ensure that you have cleant your floor as a dirty floor can make your new flooring uneven
  • Choose your Laminate Flooring! When you have picked your favourite and have it in your possession leave it in the room you want to fit it into for 48 hours to acclimatize to the room.

It’s important to note that flooring packs bought will have to climatize to its new surroundings so it can prepare for moisture and pressure when being laid.

Step Two

  • Now that you have your tools and your flooring and it now has been acclimatized to your room you are ready to start laying down your new flooring!
  • Start by laying down your foam underlay, Use your Measuring Tape and Box Knife for this step. Lay underlay facing the opposite way to your flooring.
  • Lay the first board in the left-hand corner over the underlay, with the short tongue end against the wall. Insert expansion spacers against the end of the board and at intervals along the wall, including at the point where boards are joined.
  • Lay the next board end-on, placing its short tongue into the long tongue of the first board at a 30° angle.
  • Continue to the end of the row, where you’ll probably have to cut a board to fit. Make sure that the last plank is at least 300 mm long. If not, you may have to cut the first board.
  • To measure the last board, turn it 180° and lay it next to the previous one, with an expansion spacer against the skirting or wall.
  • If the offcut is more than 300 mm, it can be used to start the next row, otherwise you can cut a board in half.
  • Use the offcut from the first row to start the next row with the cut end against the wall. Press forward and down to lock it in place. Repeat along the row, making sure that all joints from the previous row are a minimum of 200 mm apart.
  • Alternatively, for smaller rooms using angle to angle laminate, clip a whole row of boards together. Then, with a helper, lift the row to an angle of roughly 30° and push down to lock the long edges together.
  • Slide the long edge of the board into place and use a downward action and push the tongue of the second panel down into the first panel’s groove. Listen for the click to make sure the boards are connected.

Keeping offcuts in beneficial budget wise as it prevents you going out of your way to buy more Flooring, and eating into your budget and keeping this project cost effective.

Step Three

  • It’s likely at some point you’ll have to cut a board to fit around radiator pipes. To do this, use a profile to copy the shape of the pipe which you can then trace onto a board. If you don’t have a profile, lay the board in position next to the radiator pipe. Use a pencil to draw a line across the width of the board at the point where it hits the centre of the pipe.
  • If the door opens into the room, check that it will open over the new flooring and threshold bar. If not, remove the door and either cut or plane a strip from the bottom of the door.
  • If you need to cut the door frame, lay an upside-down board on a piece of underlay beside the door frame. Then place a panel saw flat on the board and cut through the bottom of the architrave.
  • Once the flooring is laid, the last finishing touch is to add a laminate flooring trim. Measure and mark with a pencil on the length of laminate flooring trim where the cut needs to be made. Use scotia cutters to cut the corners to a 45° angle. Alternatively, use a mitre saw or tenon saw and mitre block.
  • Apply grab adhesive to the back of the flooring trim (not the base) so that it will stick to the skirting board rather than the floor. This allows the floor to expand and contract. Remove the expansion spacers and press the flooring trim in place and hold it firmly with a couple of heavy books while the adhesive dries. You can also gently hammer in panel pins to tack it into place as it dries.

It’s important to note the importance of measuring the flooring to the exact tee to prevent uneven flooring and prevent shaky and unbalanced flooring.

Conclusion

Congratulations! you have just successfully laid down your laminate flooring and you have given your floor a new lease of life!

If you are looking for any materials listed or want to know more visit https://www.eechardware.ie/ for more or drop into our store!